Showing posts with label no sew. Show all posts

Saturday, November 12, 2011

Thanksgiving crafts, part 1


I am super duper in love with these place mats! I cut burlap the size of place mats and took a few strips of the edge for a frayed look. I then traced my girls hands on an orange fat quarter, there is a slight pattern to the fabric, but its all orange. I then hand stitched the hands on the corner and added legs, I then cut out an eye and giblet from felt. These pics are of my 3 year olds hand, I will add a picture of my older daughters and my table with all of them later.


Simple centerpiece made with $4 hurricane from walmart, filled with a cinnamon candle, red beans, split peas green and yellow and tied with twine.

I LOVE my Thankful bunting but wish it was laying against something darker. The bunting is made of burlap triangles and stenciled with 4 inch letters in Americana deep burgandy and has two burgandy rosettes on each end. Instead of using ribbon or twine to hang it I used cream colored bias tape.

Tuesday, November 1, 2011

Pirate Princess Costume

This year I decided to bravely make my daughters costume, I did purchase theAlign Center hat because I found it on clearance for .75, and the black tights and black boots.

Her skirt is a black and pink tutu, I tied to pieces of tulle together around the elastic. I did 3 black and 2 pink, 3 black, 2 pink. I also tied some of the pink tulle in knots at the bottom.

I had to get a little more creative on the top I sewed strips of black and white knit together into strips and then sewed a big piece of black knit on the back by putting right sides together sewing, turning right side out and sewing the opening closed giving me one long rectangle. Next using an eyelit punch I punched 5 holes on each side about one inch in from the edge and inserted large eyelits. I also put one exactly in the top center about 3/4 of an inch down. I then created a halter look with a corsetted back using pink ribbon, tied once at the bottom in a bigger bow letting the ribbon hang down.


I absolutely loved how it turned out!!!
Posted by Picasa

Wednesday, July 27, 2011

Rapunzel's Braid...


My 3 year old got a Rapunzel dress and light up shoes for her birthday and I made her a crown to go with it, but I just couldn't leave out Rapunzels hair, nor did I want to fork out $25 to the Disney Store for one.

So this is what I came up with...


I took 60 strands of yarn, about 3 yards a piece and hooked with a elastic I then braided them together, 20 strands for each section. I tied off the end with another elastic. Next I put another elastic at the top in order to hold all the little pieces down.

I took a silver hair clip from Sally's and covered it with yellow ribbon and hot glued to the back of the braid. I glued it at the very top just above where the braid began.

Next I got a giant Gerber Daisy and removed it from the stem, and popped off the back so it just had a small point. I then hot glued it to the front of the braid, just in front of the clip. This hides the top of the braid and the clip, and gives it a more finished look.

I got some flowers ( I only used one bunch that had purple and pink on it) on clearance at Michaels for $1.99 there were enough to make two braids plus I had some left over. I popped these off the stem and randomly glued them to the braid on the front and back.

Last, I tied a pretty purple bow to the bottom. I put a drop of hot glue in the center of the bow so that it wouldn't come undone.

That's it, super simple, super cute and inexpensive (less than $4).

My daughters little friend and her parents came over for dinner and to celebrate with us and I couldn't leave her out so I made one for her too. However I only made hers about 2 yards. I was worried about Ava's being too long.


My daughters little friend that is two kept stroking it and saying just like Punzel.


Posted by Picasa

Tuesday, July 19, 2011

Kays Birthday Package

So my little sister Kayleigh turns 22 today and I wanted to whip up just a bunch of fun random gifts for her birthday, I ended up not making one thing (a tote), but its all good because I'm pleased with the rest.

So first up is the flat iron travel case, I posted about this project two weeks ago. It was my first one and there are definite flaws, but I like how it turned out and she loves me so she'll like it with all of its flaws.


Next up a rosette headband. I have made these before and love them, but this one is in her signature color. I actually made my rosettes differently than I have in the past this time. Instead of twisting, wrapping and gluing periodically with fabric tac while trying to hold it all together, I knotted the beginning and glued to the center of a piece of felt and twisted and glued down (with a glue gun) on the felt so when your circle was completed it was already on the felt. They are definite pluses and minuses to doing it this way. I liked that you are able to put it down and walk away right in the middle of it, I like that using a glue gun you are less likely to get burned this way, I like that you leave out a step this way. I don't like that you are more likely to see glue in my opinion and I don't like that when you are finished and cutting out the felt around your rosette your circle isn't always that round.


Next another rosette headband, but I added some tulle and a little bling this time and I LOVE the vintage look and can't wait to make more of these!


And last but not least a fabulous rosette necklace also in her signature color! This photo is not great as it was taken by me in the mirror so the rosettes appear bigger and at a strange angel, but I love the necklace.

As I wrapping up her goodies, the song from Sound of Music was running through my head "brown paper packages tied up with string these are a few of my favorite things" So here it is all wrapped and ready to go

Align Center


And this is the cute little mama

She actually has twins so I can't leave Kenzie out, but the above was the most recent photo I have so here I am with her babies, Kaden and Kenzie

Can you tell who I was already holding and who got handed to me :)

ANYWAYS:

HAPPY BIRTHDAY TO MY LITTLE SIS!!!
Posted by Picasa

Thursday, June 30, 2011

4th of July wreath


So my husband often makes jerk comments about my crafts and I ignore them, but his comment about my 4th of July wreath actually made me laugh. He said it looks like I am campaigning for Obama, I assure you I am not, but it gave me a good laugh.

So here is my fourth of July yarn wreath their are 13 stripes beginning and ending in red, just like the flag, but there are only 23 felt stars.


Posted by Picasa

Saturday, June 25, 2011

4th of July banner...


I saw a much smaller version of this banner on Etsy and new I had to make one! It is super cheap and looks rustic, patriotic and adorable above my fireplace.


Navy, red and white felt 6" stars strung on twine from Dollar Tree. The whole project literally cost less than $2!
Posted by Picasa

Friday, June 24, 2011

As seen on the Bachelorette...

I had been wanting to make some sort of a hurricane candle for my bathroom for awhile but couldn't decide if I wanted sand or rope in the bottom and then I was watching the season premiere of the Bachelorette. At the beginning of the show before she met the men for the first time Ashley and Chris Harrison sat down for a one on one and the mood was set, they were in living area with flickering candle light of hurricane with candles and rocks it was so pretty that I knew that was what I wanted to do, so the next day I ran to walmart and bought a $5 vase and candle and then picked up a $1 bag of rocks at the Dollar Tree. I think I am going to make another one for my entry table, as soon as I get one.

Posted by Picasa

Monday, February 14, 2011

Valentines Day outfits


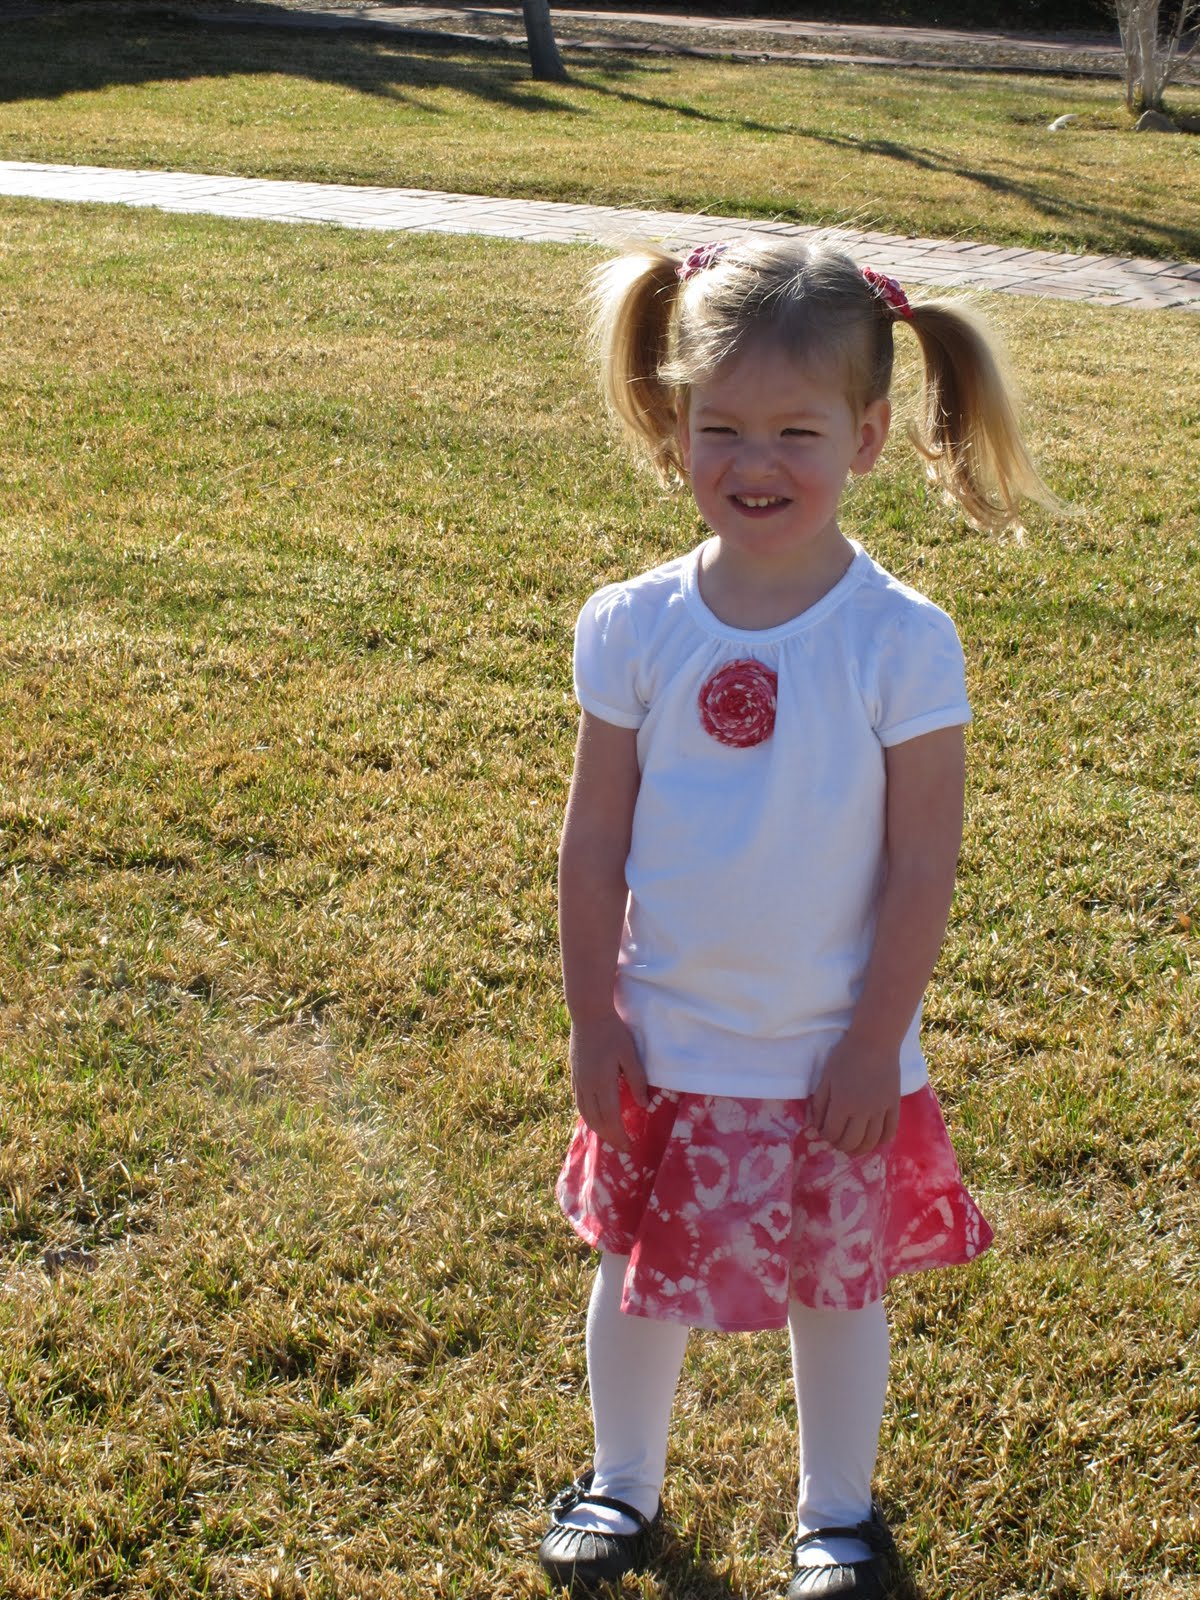
My husband says that I am weird because I make Valentines outfits for my girls, but I love an excuse to put them in matching clothes. The thing is I make the outfit for valentines day, but they wear them all spring and summer. My pics are not very good, we were fighting early morning sun, we were running late for church and my darling A just wanted to spin and dance. Every where my more poor girls stood there were shadows or the sun was shining right in their eyes.

I made the girls matching circle skirts using MADE's tutorial, the material is from Joann's its a tie dyed pink, with white tie died hearts on it.


They were just going to wear white shirts but A's brand new white shirt that she had worn once, had a stain on it front and center. So I decided to sew a rosette out of the same material as the skirts to cover it, and I love how it tied it all together. I offered to put 3 rosettes on the color of T's but she didn't want it, she wanted to wear her shirt plain.


Lastly their hair. I made a rosette headband for T's hair and I LOVE it. And for A's hair she got two small rosette hair clips for her piggytails (the only way she wants her hair these days).


I love Valentines and creating for my girls.

Happy Valentines Day to all of you and Happy Crafting!

Saturday, February 5, 2011

Valentine's Day Yarn Wreath


I was seeing yarn wreaths all over the internet and thought this would be a great way to have a wreath that continued to match my Valentine's color scheme. Malarie had just made a ton of rosettes for headbands, so she showed me how to make some. Super simple wreath, I love the look of it. I only wish it was not on my ugly brown front door :(


I wrapped a styrofoam heart wreath with black yarn added some hot pink, pink and white rosettes to the bottom and hung it with a hot pink ribbon that says "Love" in black. Perfect. And what can I say, but I LOVE it too!

I linked up to Get Your Craft On at Today's Creative Blog. Go check out all the other fabulous craft projects.

I have also linked up to these other fabulous parties at:
Someday Crafts
Sassy Sites
Sister Stuff

Wednesday, February 2, 2011

Another Valentine's Day Banner!


I loved my banner or bunting so much I had to make one for my Mom too! I made my mom's in the more traditional colors of red, light pink and white and I absolutely LOVE hers too!


I am having so much fun with Valentine's crafts this year!